
Giving a fresh look to your terracotta tiles, be it in Mission Bay, Remuera, Ponsonby or other suburbs in Auckland, involves an in-depth process. Here is a step-by-step guide to clean and restore terracotta tiles:
- Preliminary Assessment: Firstly, a meticulous examination of the entire roof is conducted to identify any evident issues, like cracked, broken or dislodged tiles, signs of algae, moss or lichen, etc.
- Rectifying Damages: Next, any identified defects are dealt with. Broken or cracked tiles are replaced, and loose tiles are secured in their places.
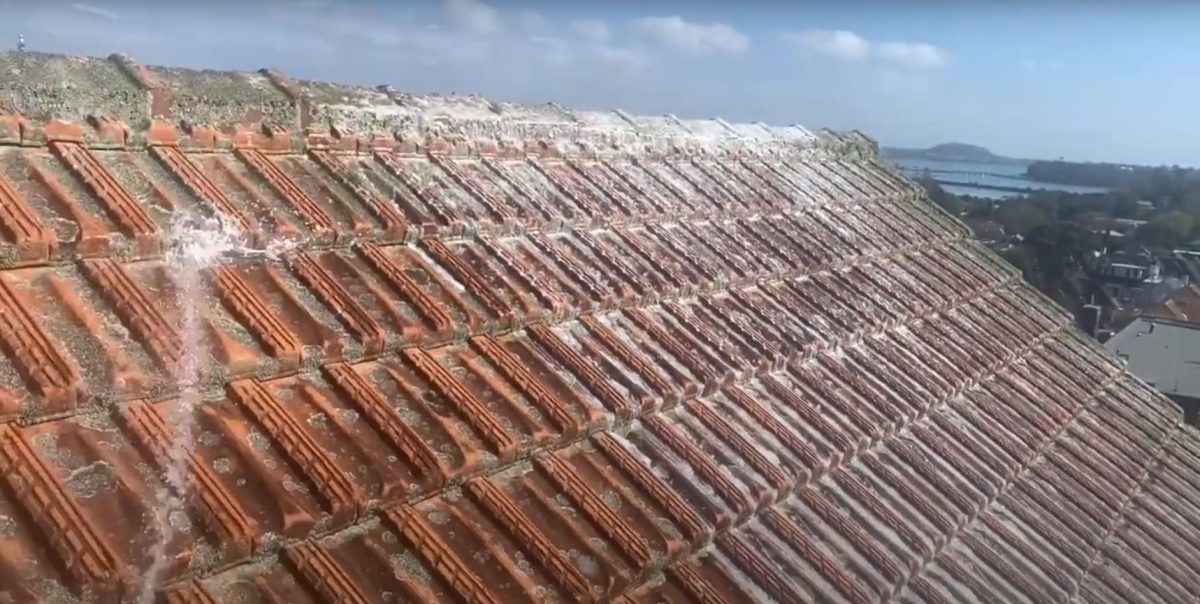
- Deep Clean: High-pressure cleaning is then undertaken to wash off years of grime, bird droppings, and organic growth like algae, moss, etc. A lower pressure setting is used to avoid tile damage.
- Biocide Treatment: After the cleaning, a biocide roof treatment can be applied to remove any remaining moss or algae and inhibit their future growth.
- Application of a Protective Sealant: Once the roof is completely dry, a protective sealant is applied. The roof sealant is designed to enhance the natural red hue of the tiles and provide an additional layer of protection against the elements.
- Final Scrutiny: Once the roof sealant has dried, a final check is carried out to ensure that the restoration process has been successful and no areas have been overlooked.
As far as cost is concerned, it will depend on several factors, such as the size and condition of your roof, and the specific products used. However, as a general ballpark figure, you might expect to pay between NZD $40 and $70 per square metre.
Notable brands that provide high-quality products suitable for terracotta tiles include Dulux, Crommelin, and Dricon. Your roofing contractor will be able to suggest the best product for your needs.
Always remember, consistent maintenance and timely inspections are key to increasing the lifespan of your terracotta roof. Always ensure that any roofing work complies with Auckland’s building regulations.